Analysis Setup
The Projects page is the starting point for the sample selection method of analysis setup.
The analysis setup process has been streamlined and simplified with the addition of the new Set up Analysis wizard.
The following elements must be in place:
-
MS data files have been uploaded to PAS. For information, see Upload MS data files.
-
Plates have been created. For information, see Add a project.
The analysis setup follows this sequence (for detailed instructions, see Set up an Analysis.):
-
Select the project that has the samples you want to analyze from the Projects Page.
-
Select Set Up Analysis.
-
Follow the prompts in the Set Up Analysis wizard, including the analysis name, description, notes, and the chosen protocol. The wizard provides a panel with details of the protocol you select.
-
In the second step of the Set Up Analysis wizard, you will select the samples to include in the analysis. The wizard includes two tabs: one with all of the available samples in the project and another for the samples that you have selected to analyze. You can show, hide, and sort columns as well as filter and search the data to quickly locate the samples you want to include.
-
The final step of the wizard presents a summary of the samples, controls, and plates included.
If you plan to use the Proteogenomics analysis protocol to analyze samples, you must have already defined associations between the samples and VCF files. See VCF files.
The Projects page Sample list area
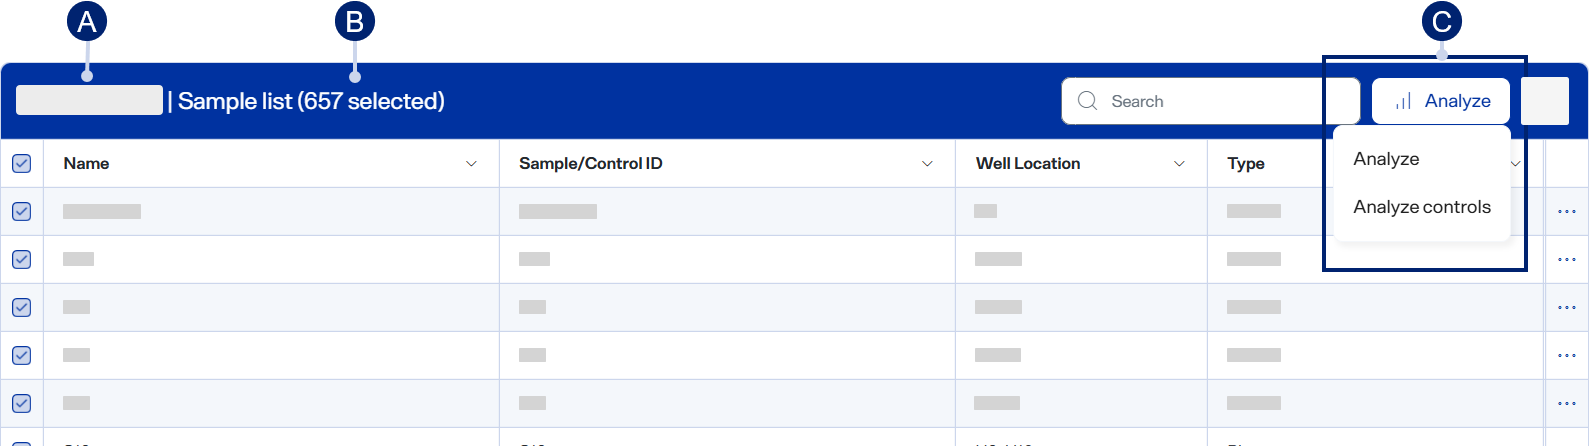
-
Set up analysis button
If you later want to reanalyze the same datasets with different analysis parameters (e.g., MS method, analysis protocol), you don’t need to go through a setup workflow again. Instead, open the Analyses page, select one or more analyses, select the Reanalyze button, and then change whatever analysis parameters you want. For detailed steps, see Reanalyze an analysis.